6 Steps to Perfect SEO Optimization of Images on the Website
There is no such thing as excess traffic on the website, right? One of the methods to get it is SEO image optimization. Although SEO optimization is more complicated than simply adding Alt-text (alternative description) to images on your site, with our step-by-step instructions, you will optimize images like a pro without a long study of theory. Shall we begin?
Contents
How SEO-optimization of images is useful
SEO optimization of images on the site affects both the improvement of the rendering of the entire page and the probability of getting to the top of image searches.
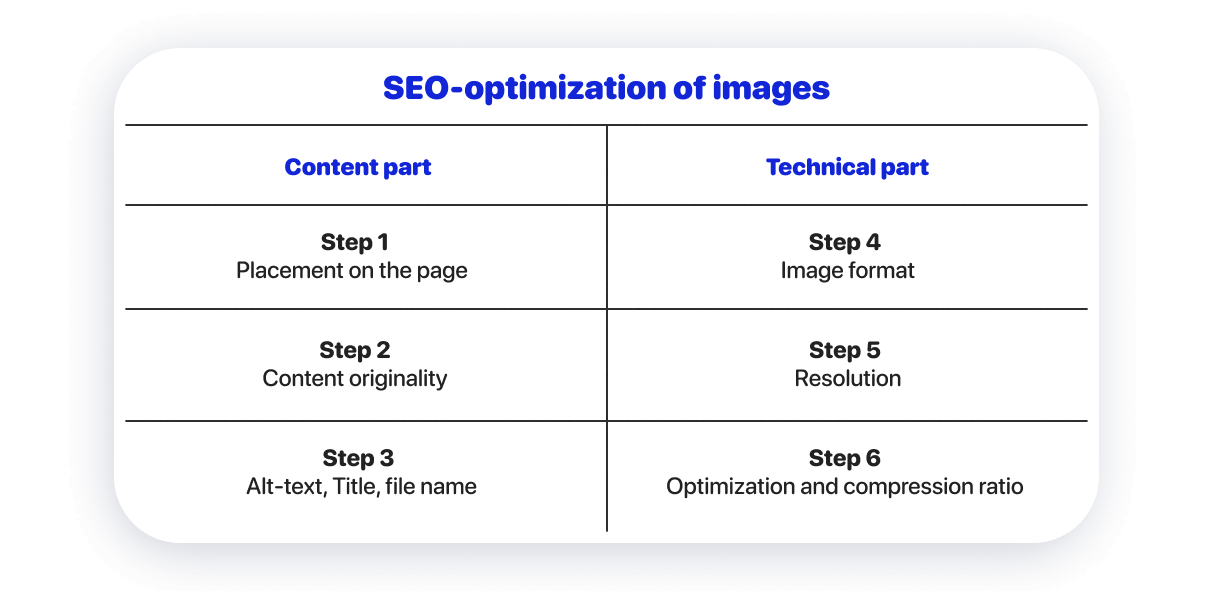
The content part of image SEO optimization affects image search results.
To evaluate the content of images, search engines rely on 3 tools: studying the text next to the images, analyzing the objects in the images with algorithms, as well as studying the SEO attributes of images and file names.
To get to the top of search results for images: you need to specify a meaningful Alt-text, add the correct name to the files, and add images to the places of the page that they illustrate. Also, images must be unique.
The technical part of SEO optimization of images affects the SEO positions of the entire page.
The faster the page loads in general, the more likely it is to get to the top. The download speed is affected by both the quality of the site’s code and the organization of its technical platform, as well as the amount of content required for download. Hence, if the images on the page are small in size, the page will load faster.
To do this, you need to optimize the image technically: choose the right format and optimal image resolution, achieve optimal quality by compressing images with the help of special services.
Step 1: Place images in appropriate places on the page
Quality and relevant images are not the only aspect of image SEO. This is the essence of the content on the pages of your site.
Choose images that illustrate the content of the page or add mood to the design. For SEO image optimization, it is important that the text next to the image is related to the image.
Step 2. Check the originality of images for the site
Search engines give priority to unique images. If you take your own photos or have a hired digital artist create illustrations, there will be no SEO issues.
To check the originality of your images, you need to use the Google Images service. Next, select “search by images” and upload your picture. You will see similar images in the search results. If there are many similar images found, your images have no SEO potential.
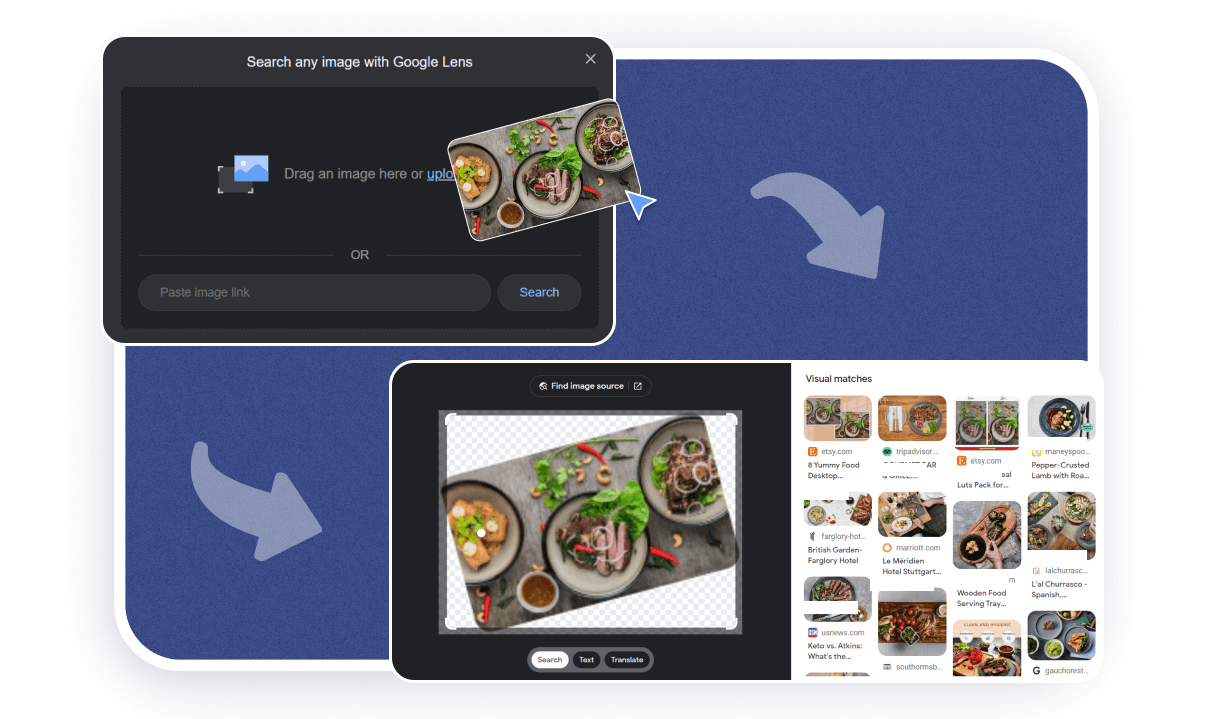
But you can further modify the stock images. Although the effect of such actions is minimal, you will still achieve a better result than without any changes at all.
The easiest ways to change pictures are:

Cropping and mirroring. Crop the image and additionally rotate the image in a mirror. Be sure to preserve the composition and subject of the image when cropping the image and make sure that certain elements (for example, the text of the inscriptions in the background) are not flipped. Users will see it immediately.
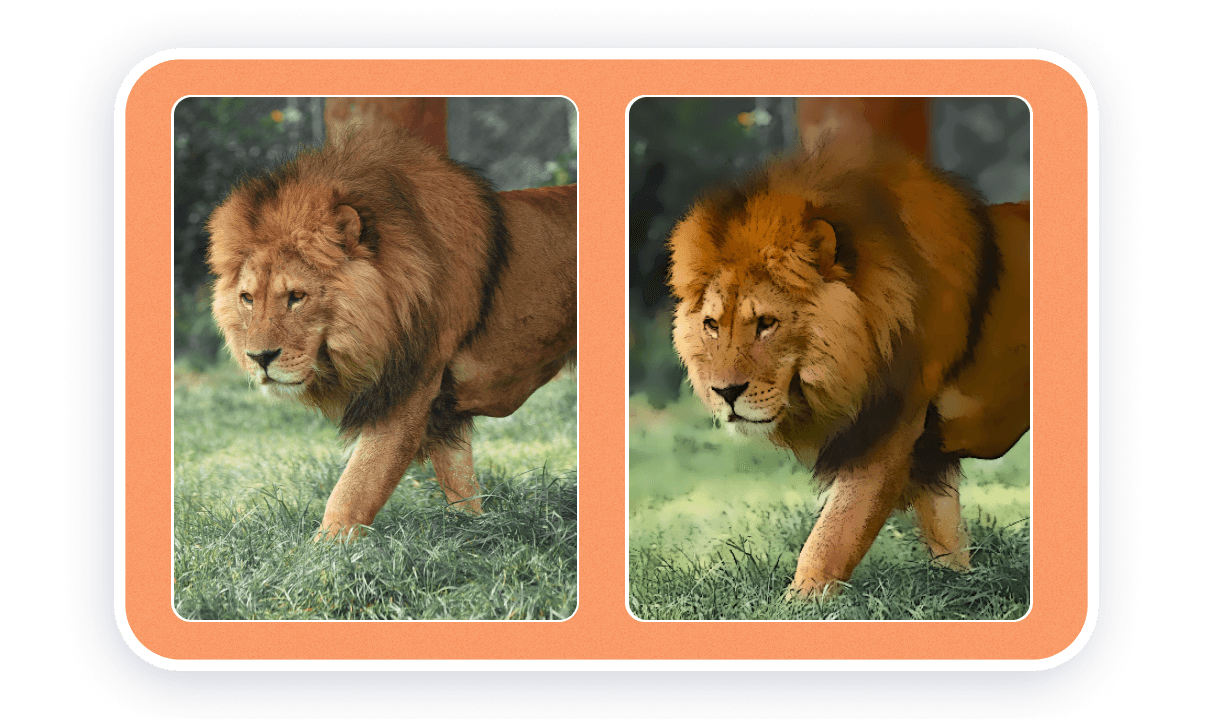
Color correction, mood filters and artistic filters. This change of photos will be effective if the image is radically different from the original. One option is to completely change the individual colors of the image to other colors. To do this, you need to select a color area in your graphic editor and change its shade (Hue).
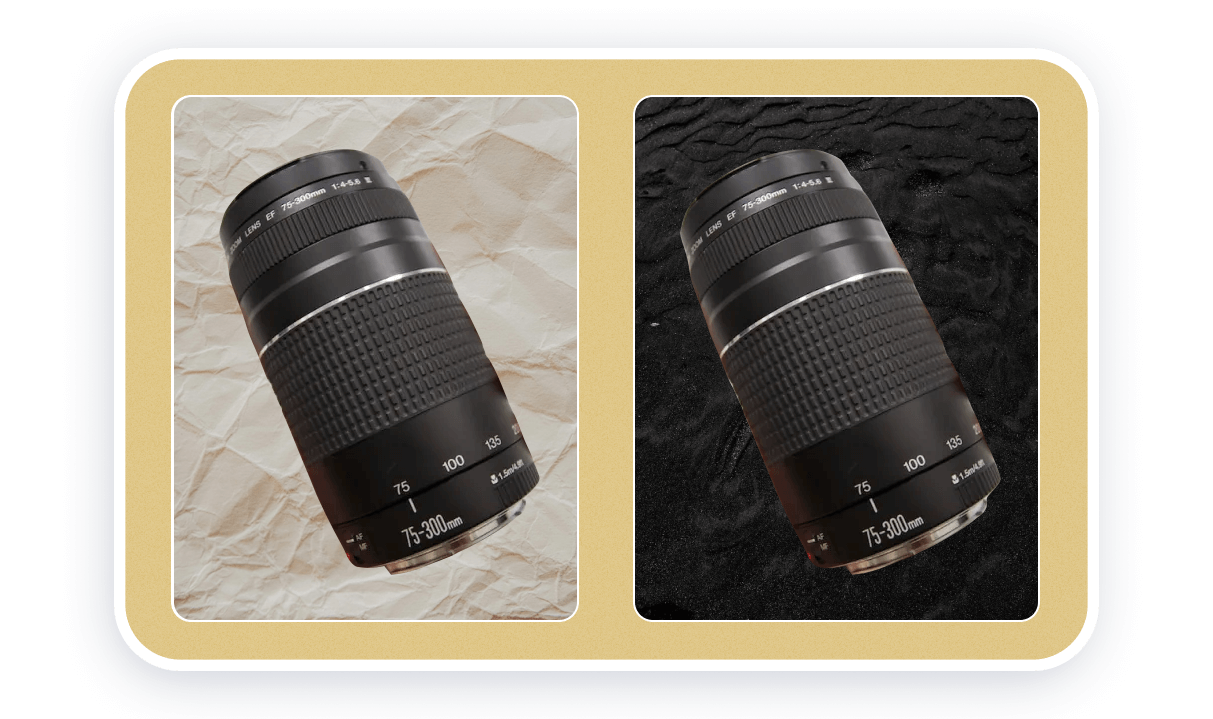
Add or remove objects from the image. In the interests of optimization, it is better not to do this — the result will not be perfect, and the photo won’t look very natural. Usually, such changes appear when you, for example, add product photos to stock images or mockups.
Step 3: Add SEO attributes and a title to the image on the site
Alt text is the text description of the image on the site. Its search engines use it to evaluate the content of images. When a user performs an image search on Google, it is the alt text description that indicates whether a particular image should be shown to the searcher.

Users will also see a text description from the Alt text if there are problems with loading images on the page.
The requirements for the alternative description of the image are as follows:
- The length is no more than 100-150 characters. The description itself can be long, but search engines analyze exactly this first number of characters.
- Accurate representation of the meaning of the images. You must describe in simple words what exactly is shown in the picture. For example, “Interior project with peach-colored walls and white furniture.”
- No duplication of text from the page title. In this case, search engines will consider the picture useless and ignore it.
- The uniqueness of each description on the page. Search engines will consider graphic content as diverse and therefore useful.
- No keyword spamming. You should not repeat the main thematic word of the page in the description of the picture several times. For example, “interior with peach walls, stylish interior, interior with white furniture.”
Different language versions of the same page can use the same images, but must use different alt text. The description should be made in the language used for the textual content of the page.
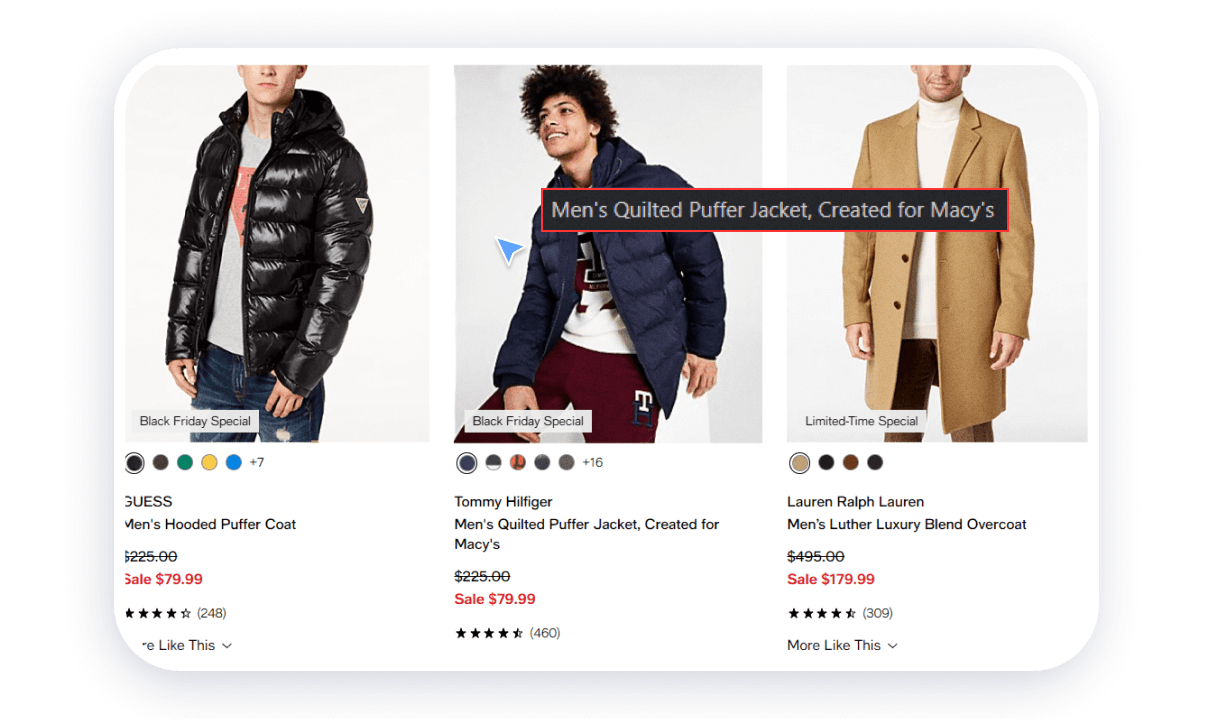
The Title image attribute has no impact on SEO. It is useful in a practical sense and affects the experience of using the site. When the user moves the cursor over the image, an explanatory inscription Title appears additionally.
Name of the image file. The file name also provides useful information to search engines. Google recommends that before uploading pictures to the site, you change the names of the files to meaningful and readable ones. The text must be written in Latin with hyphens instead of spaces. For example, instead of “img02879791.jpg” you can use the text “interior-with-peach-walls.jpg”.
Let’s look at real examples of how to correctly create the title and Alt-text for images on the site.
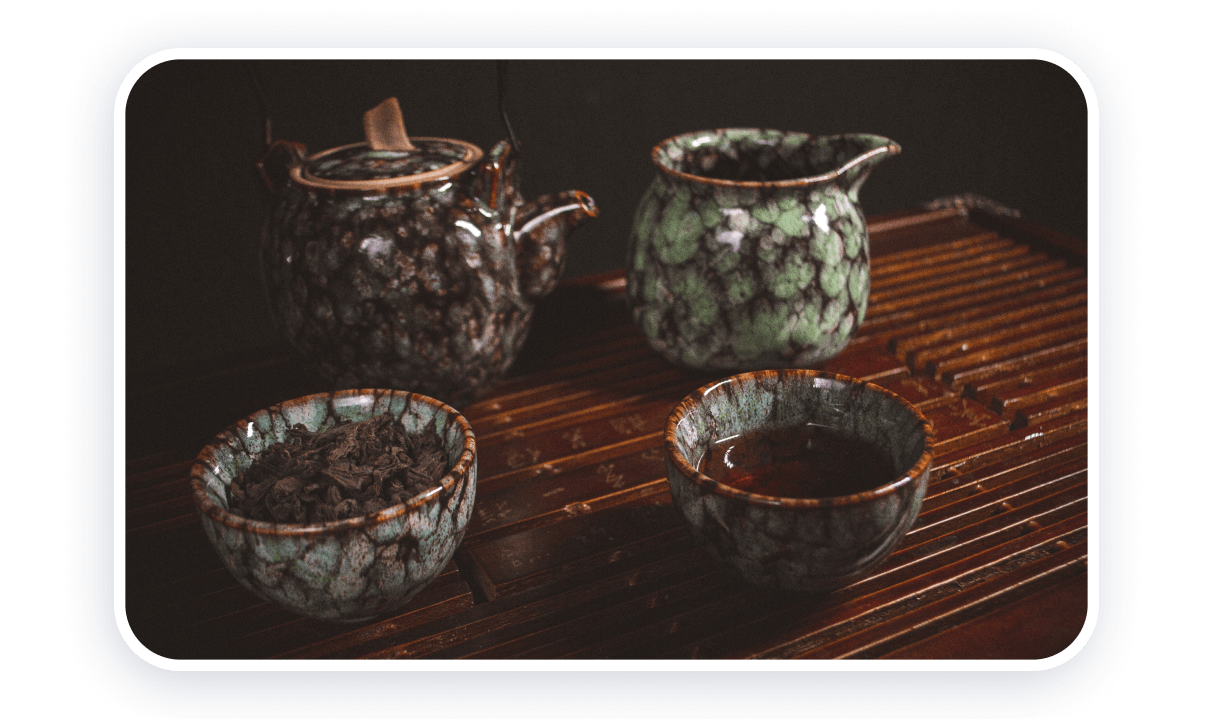
Name: pu-erh-tea-brewing.
Alt-text: Proper brewing of pu-erh green tea at home.

Name: posture-for-guitar-playing.
Alt-text: Sitting correctly while playing classical guitar using a stand.
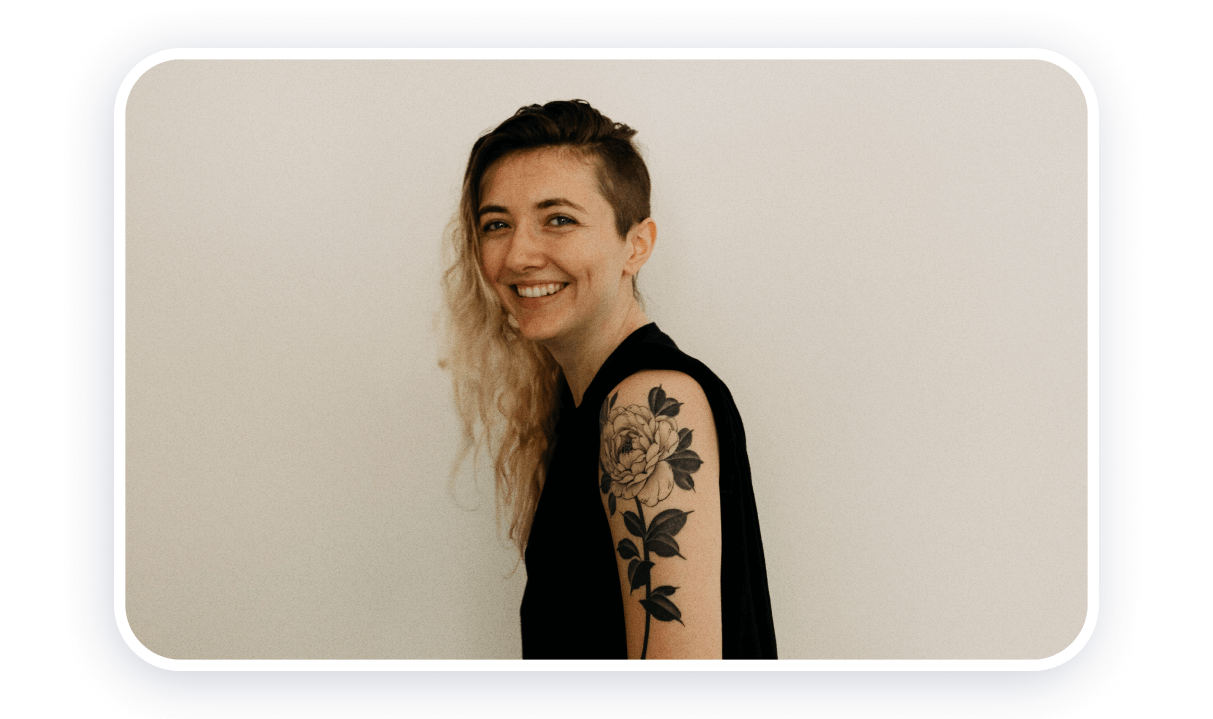
Name: flower-arm-tattoo.
Alt-text: Minimalistic tattoo of a flower on the shoulder of the arm.
You may have noticed that the optimal title format is a simple naming of the image object in 3-5 words.
For Alt-text, it is best to use the following order of words: the name of the object + its unique quality + the circumstances.
Step 4: Choose the optimal image format for the site
Image format is a type of data storage in an image file. Each format has its own type of file extension. For example, *.png, *.jpg, *.webp, *.svg. Different formats have their advantages.
The PNG format provides the best image quality. But the size of this type of images is much larger than other types of files.
The JPG format uses compression algorithms, so the size of the final files is small. At the same time, the picture quality remains acceptable.
The WebP format offers modern compression algorithms, with which images can be extremely small in size with acceptable quality. So far, WebP is not perfectly supported by all browsers (especially the WebP v2 format).

Depending on the tasks, choose the appropriate image format. You can also combine several formats on one page.
- PNG — if it is important to show the content in the maximum quality. For example, on the website of a photographer or interior designer.
- JPG — if you just need to display content in normal quality. At the same time, compatibility with browsers will be great.
- WebP — if you want to achieve maximum download speed. You need to additionally convert the image to this format, because usually content, for example, on streams, is distributed in PNG and JPG formats. To convert images of other formats to WebP format, use online converters: Convertio or CloudConvert.
The SVG format needs to be mentioned separately. It is used for illustrations, icons, logos, and simple geometric graphics on the site. It’s a vector format — the image is built using geometric shapes. All previous image formats are bitmap. Their image is formed from separate points of different colors. Therefore, raster images have a resolution parameter.
Using SVG images will help to display the artwork in the best quality. Please note that sometimes browsers may not display SVG correctly. On the other hand, vector images can have a very small size, and this will have a positive effect on the speed of loading content.
Proper SEO optimization of SVG images requires additional knowledge and can be difficult on some platforms.
Step 5: Choose the optimal resolution
Resolution is the number of horizontal and vertical dots that make up the image.
Horizontal image resolution
Most traffic comes from mobile devices. For Android devices, the most common horizontal screen resolution is 1080 pixels. For Apple phones it’s 1170 pixels. Therefore, horizontal image resolution of more than 1200 pixels is excessive for mobile devices. If you are making a site primarily for mobile, aim for this width as the maximum.
2000 pixels of horizontal resolution is sufficient for viewing content on a computer (even if the image occupies the entire screen). This size is due to the most common computer screen resolution — Full HD with 1920 pixels horizontally and 1080 pixels vertically).
Resolution of vertical images
To choose a vertical resolution, you need to start from the part of the screen occupied by the image. If the image is completely located on one screen, then the maximum vertical resolution should not be more than 1000 pixels.
After deducting the controls in the browser window and the control panel from 1080 pixels of Full HD resolution, these ~1000 pixels are formed.
Rules for choosing image resolution
In your site layout, when working on the design, you will see approximately how much of the desktop version the image occupies. Having determined the approximate area of the image, you will understand the necessary parameters of the resolution.
For example, you have three hover cards on your website. They occupy half of the screen vertically and the entire screen horizontally. So:
- the horizontal resolution of images should be no more than ~670 pixels (divide all 2000 pixels into three objects).
- vertical resolution of images should be no more than ~500 pixels (half of 1000 pixels).
Next, depending on the desired result (the beauty of the site or the speed of its loading), finally choose the resolution.
100% for the best image quality (in our case, it’s 670×500 pixels).
85% for the balance between speed and quality (in our case it is 570×425 pixels, i.e. 670×500*85%).
70% for the fastest site loading (in our case, it is 470×350 pixels, i.e. 670×500*70%).
If your site will be viewed mainly from mobile devices, then you need to multiply the resolution of the images approximately twice for the maximum quality of the images on the site. This is due to the fact that the cards will be arranged sequentially in the mobile version of the site.
The calculation looks like this.
1200 pixels horizontally. 500 pixels vertically must be multiplied by the ratio of the original and new resolution horizontally (1200/670 * 500 = 895 pixels). The final size for maximum image quality when viewing images on mobile is 1200×895 pixels.
Step 6: Optimize the quality of images
The size of an image is determined not only by the format and resolution, but also by the degree of its compression. Some image formats may not use compression (such as PNG). In others, it is mandatory (for example, in JPG).
There are two types of compression, lossless and lossy:
- Lossy. In this case, the image size is significantly reduced, but the image quality is slightly degraded.
- Lossless. In this case, the image size is slightly reduced, but the image quality remains the same.
You can achieve a high degree of compression with acceptable quality using online image optimization services. Sometimes you can choose the final resolution of the image. Depending on the resolution and compression features, the optimal file size can range from 50 to 500 kilobytes.
Depending on the tasks, choose the appropriate image format. You can also combine several formats on one page.
- PNG — if it is important to show the content in the maximum quality. For example, on the website of a photographer or interior designer.
- JPG — if you just need to display content in normal quality. At the same time, compatibility with browsers will be great.
- WebP — if you want to achieve maximum download speed. You need to additionally convert the image to this format, because usually content, for example, on streams, is distributed in PNG and JPG formats. To convert images of other formats to WebP format, use online converters: Convertio or CloudConvert.
The SVG format needs to be mentioned separately. It is used for illustrations, icons, logos, and simple geometric graphics on the site. It’s a vector format — the image is built using geometric shapes. All previous image formats are bitmap. Their image is formed from separate points of different colors. Therefore, raster images have a resolution parameter.
Using SVG images will help to display the artwork in the best quality. Please note that sometimes browsers may not display SVG correctly. On the other hand, vector images can have a very small size, and this will have a positive effect on the speed of loading content.
Proper SEO optimization of SVG images requires additional knowledge and can be difficult on some platforms.
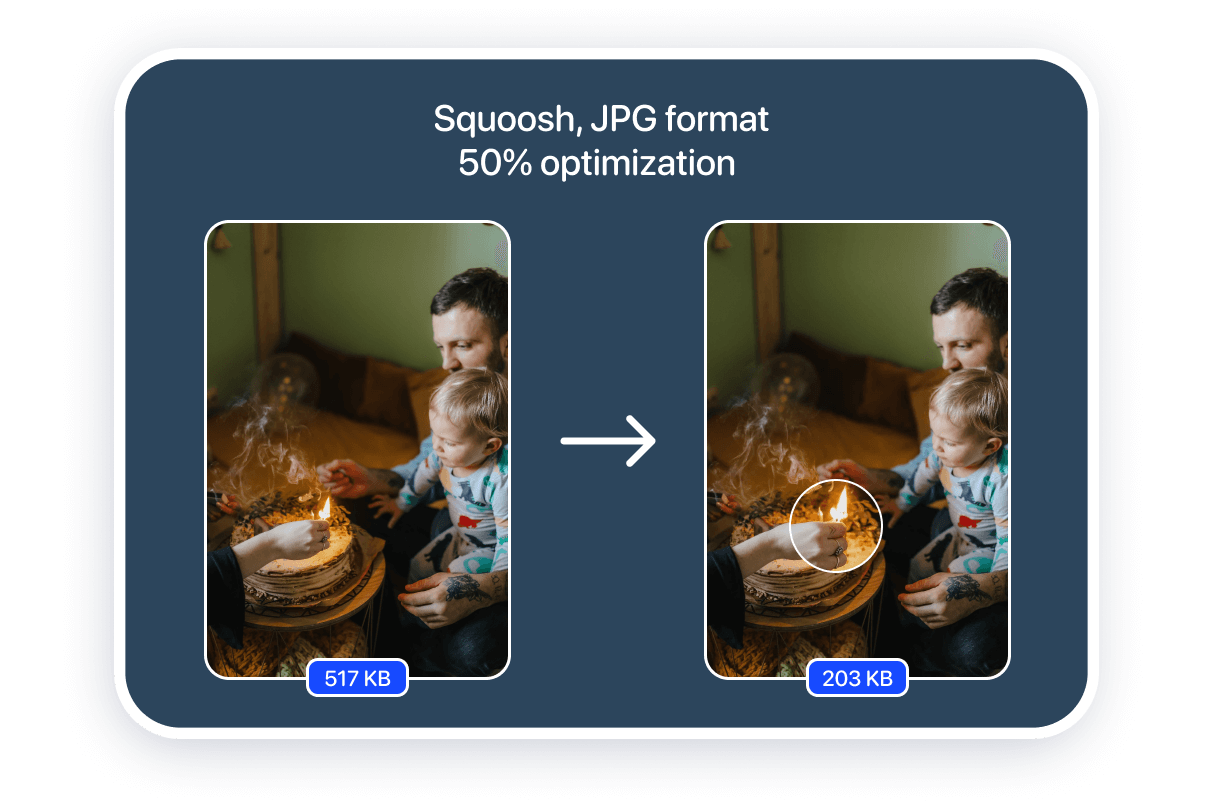
In the case of each individual picture, the degree of compression on the services will differ. Using the same image as an example, you can estimate the degree of file size reduction.
You can evaluate the possibilities of file size optimization for SEO image optimization tasks by yourself:
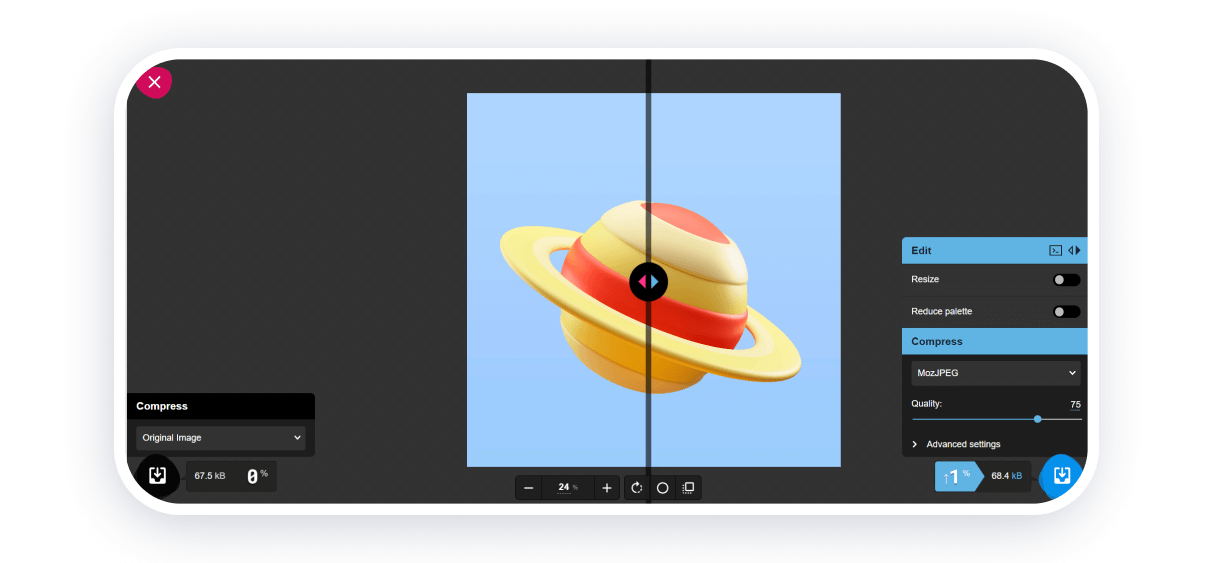
You will have significant opportunities, but mastering the converter will take time. You will immediately be able to appreciate the difference between the original and the converted file. You can work with one image at a time. Format conversion and image resizing are supported. The service supports WebP, PNG and JPEG.
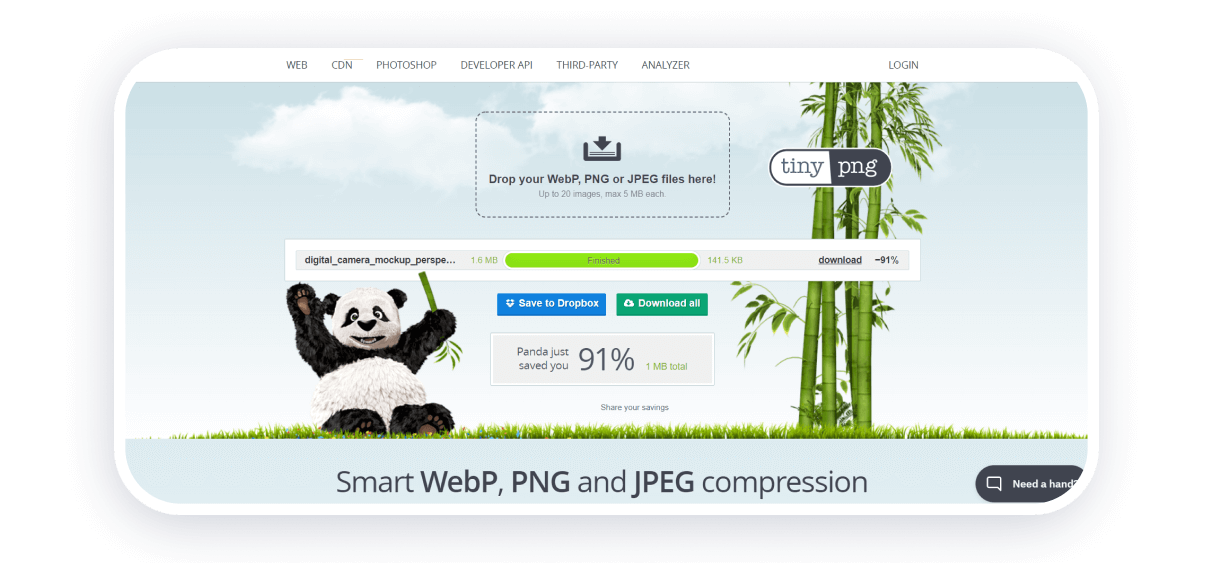
This service will allow you to optimize WebP, PNG and JPEG format files. You can convert up to 20 images up to 5 megabytes each at a time. There is no limit on the number of file conversions per day. There are no optimization settings.
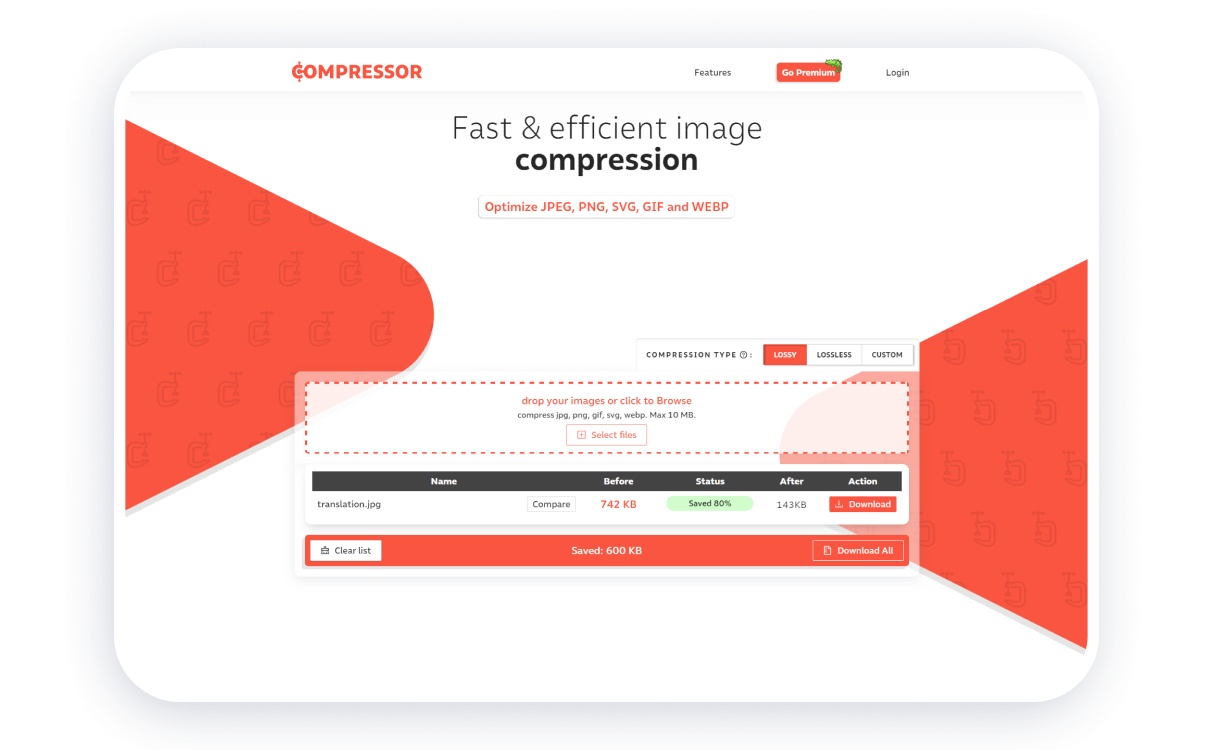
Without a subscription, you can process up to 50 files per day. JPEG, PNG, SVG, GIF, WEBP formats are supported. There is a choice between lossy and lossless compression. You can optimize several files at once (total size up to 10 megabytes).
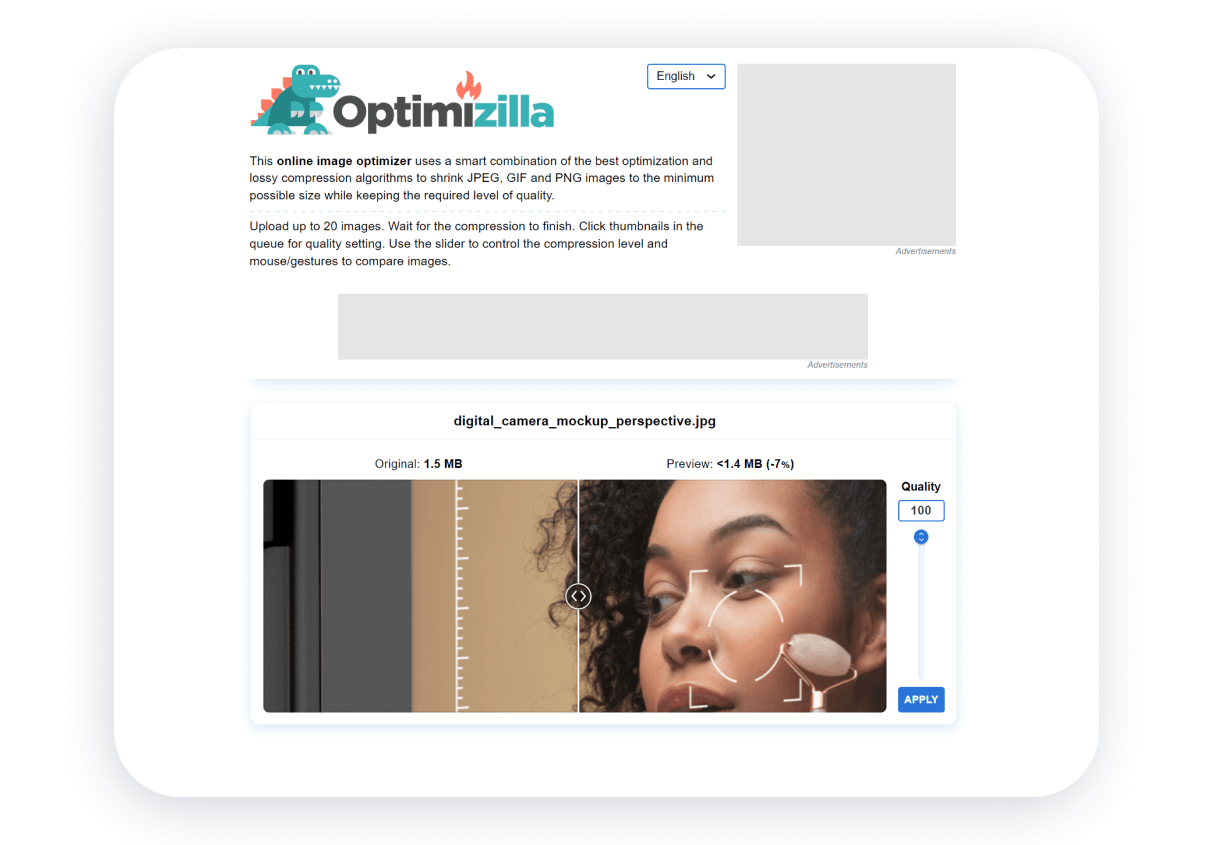
You can optimize JPEG, GIF and PNG format files. You can optimize multiple files at once. There is no limit on the number of file optimizations per day. There are no settings except limiting the color palette. Up to 20 files can be uploaded simultaneously for optimization.
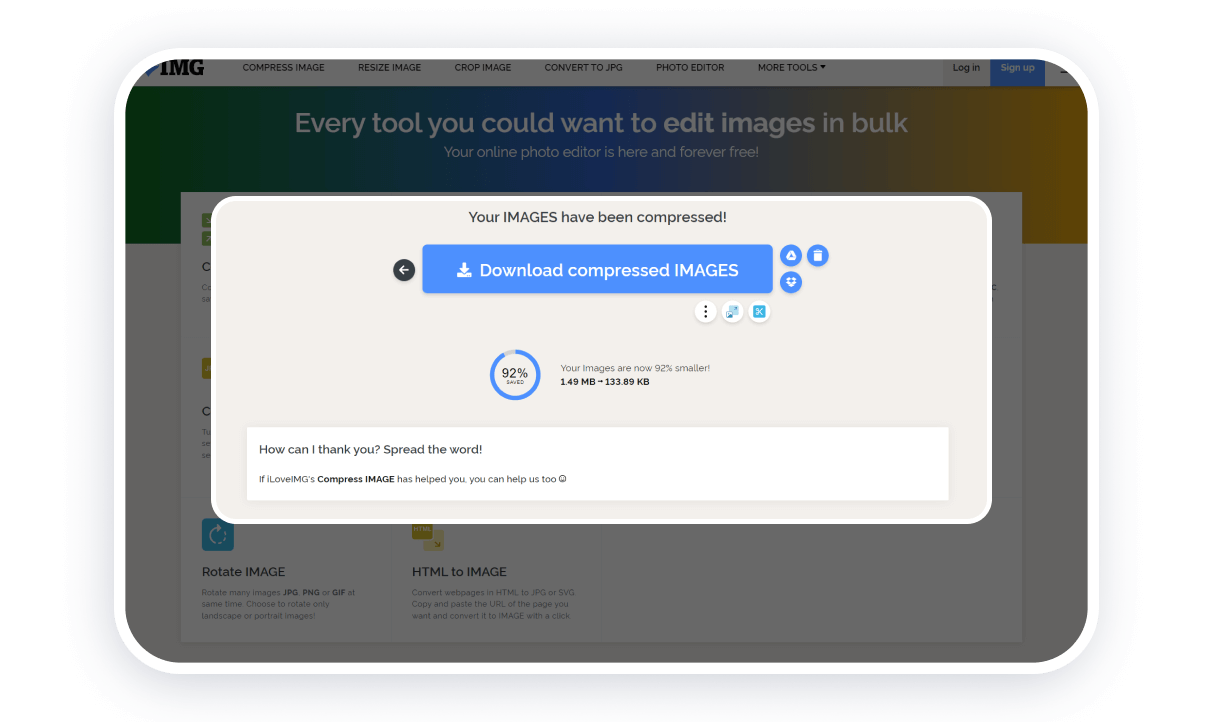
Multifunctional service for working with images. All tools are divided into groups. Image optimization, conversion of files of other formats to JPG, resizing and cropping of images are available. At one time, you can perform operations with 30 files with a total size of up to 200 megabytes.
Other aspects of SEO image optimization
Working with the sitemap and image storage location, choosing the correct addresses (URLs) for images and enabling lazy loading (loading content as the page is scrolled) require special knowledge, as well as interaction with site structure files.
If you build a site on Weblium, you don’t have to worry about the technical side of building a site. Both in terms of SEO and the operation of the entire site.
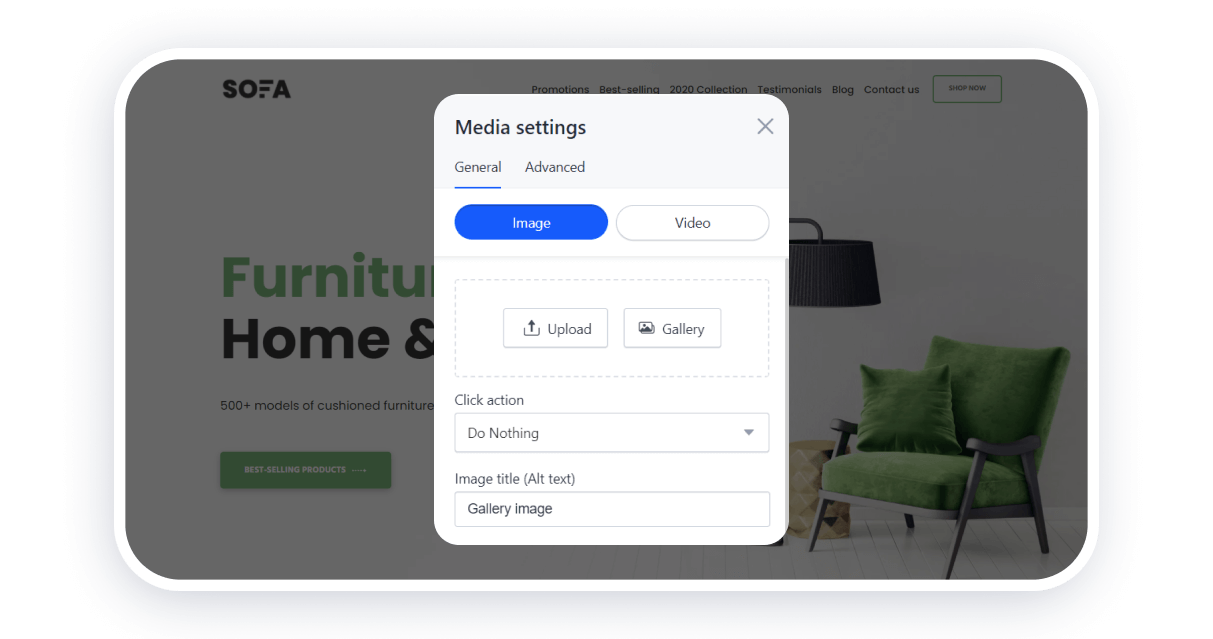
To speed up site loading, our site builder automatically reduces the size of images while maintaining their quality. If you need to show a photo in high quality, then you can show background images on the site with original parameters.
When you add images, you immediately add all the attributes needed by search engines to the image processing tool. You can get more traffic not only with the help of SEO, but also with the use of social networks. Website pages on Weblium support Open Graph markup, so they are displayed correctly on social networks.

